

The Right Tools for the Job
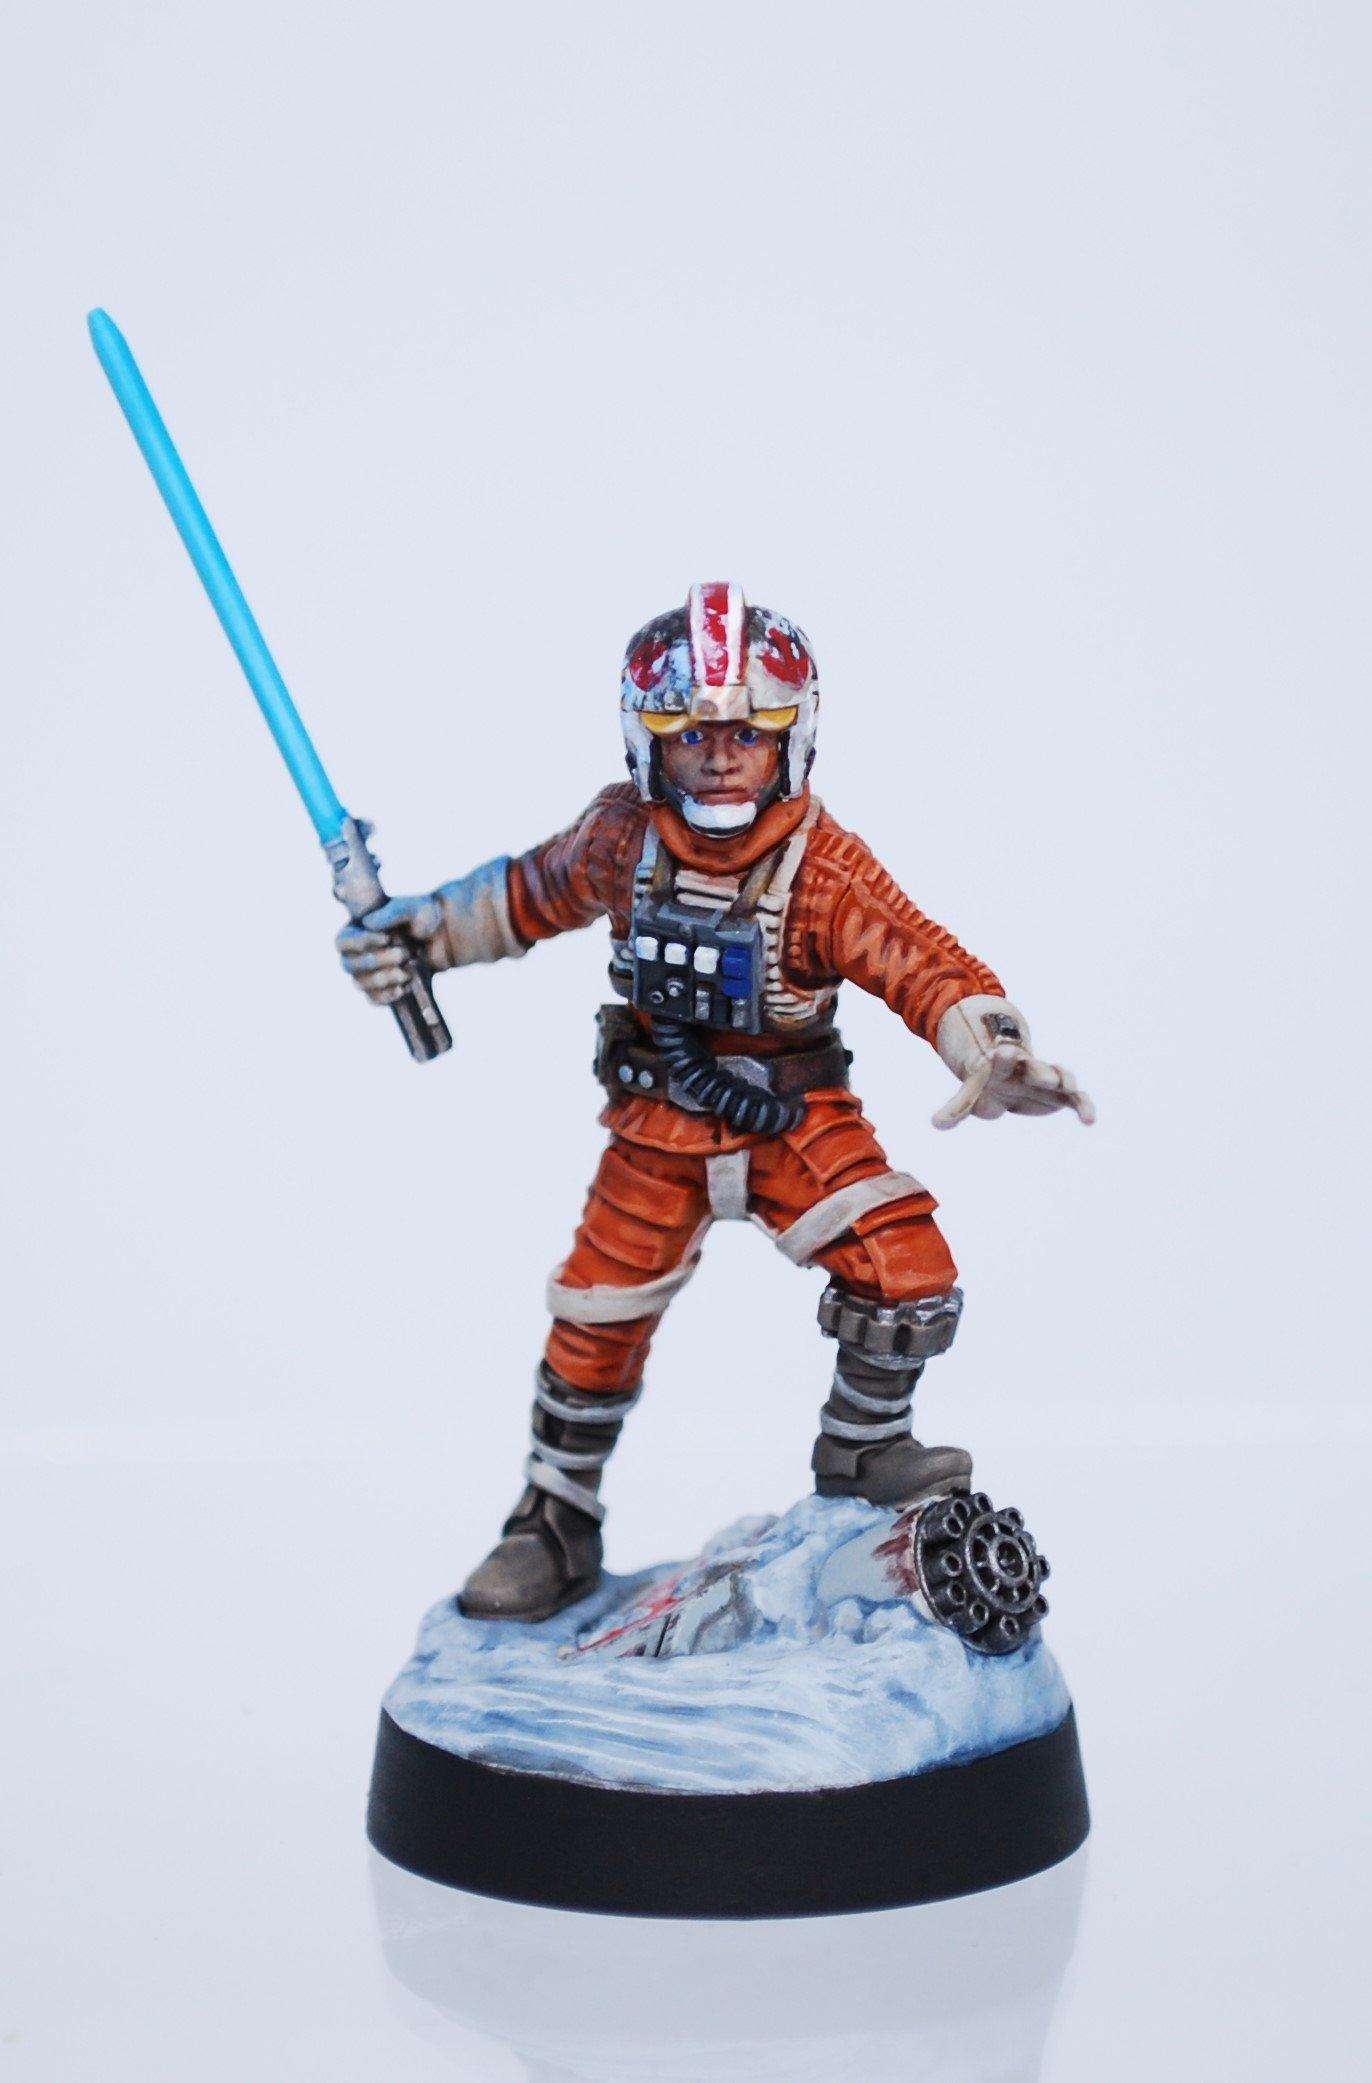
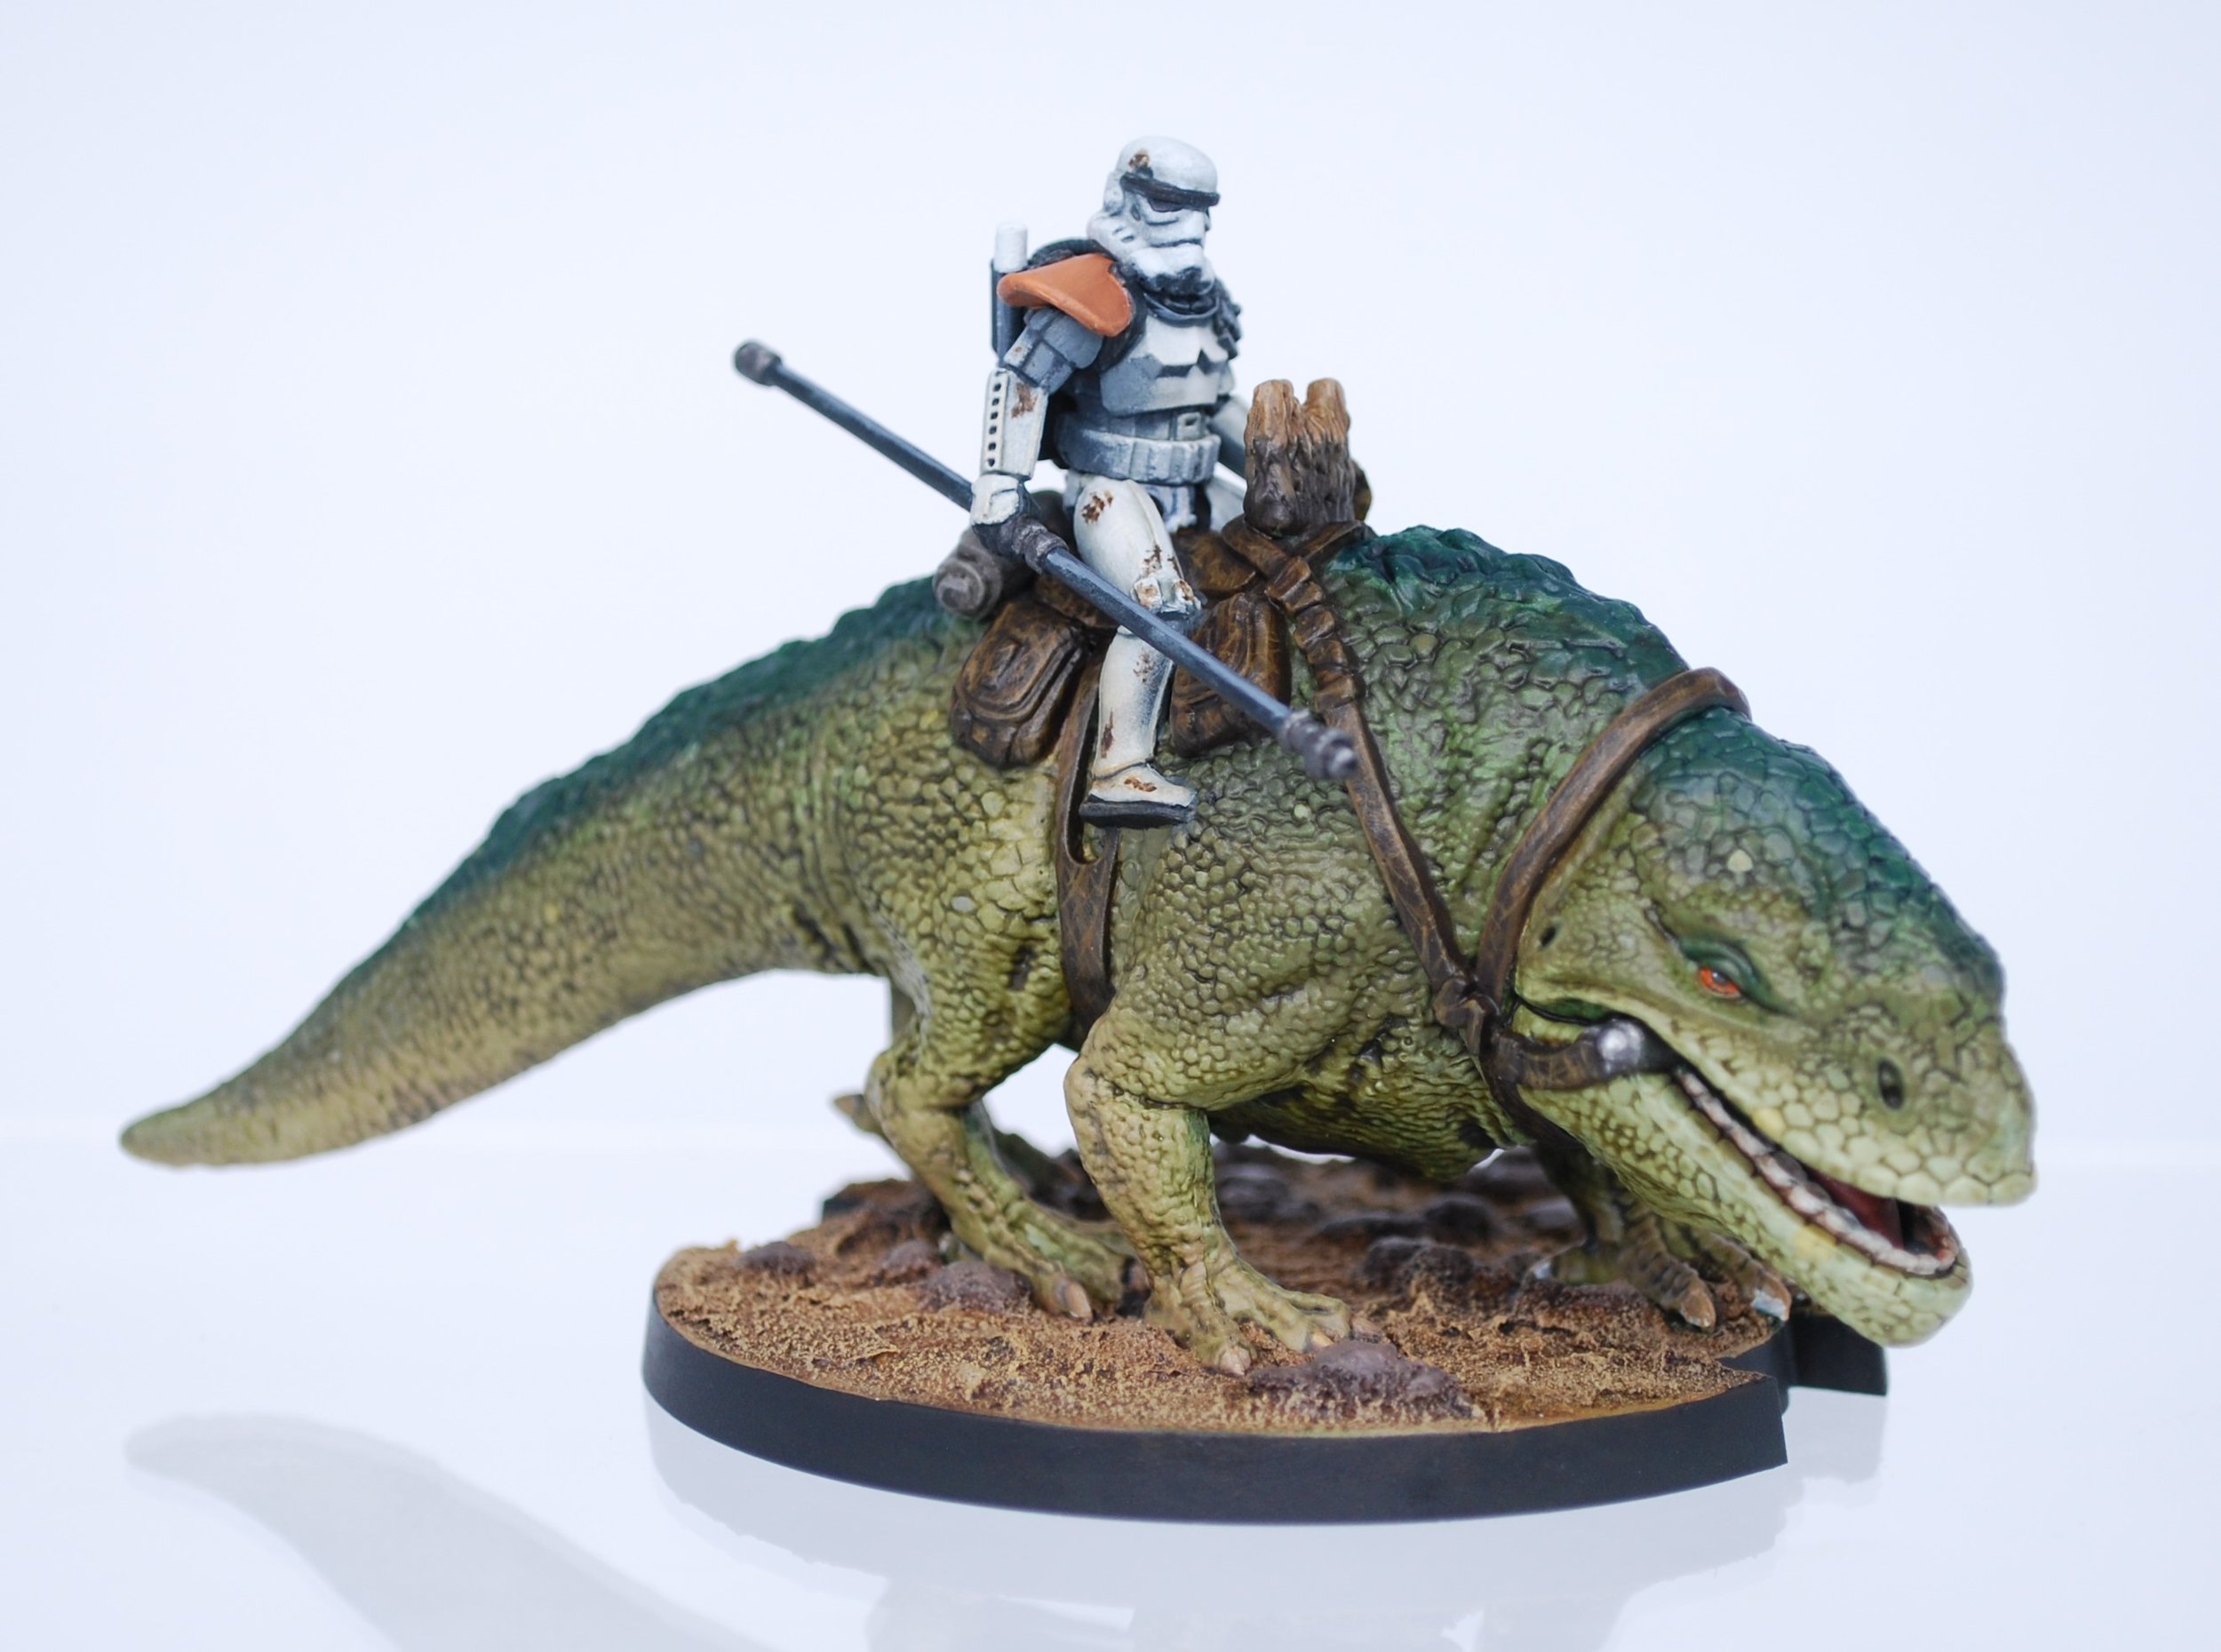
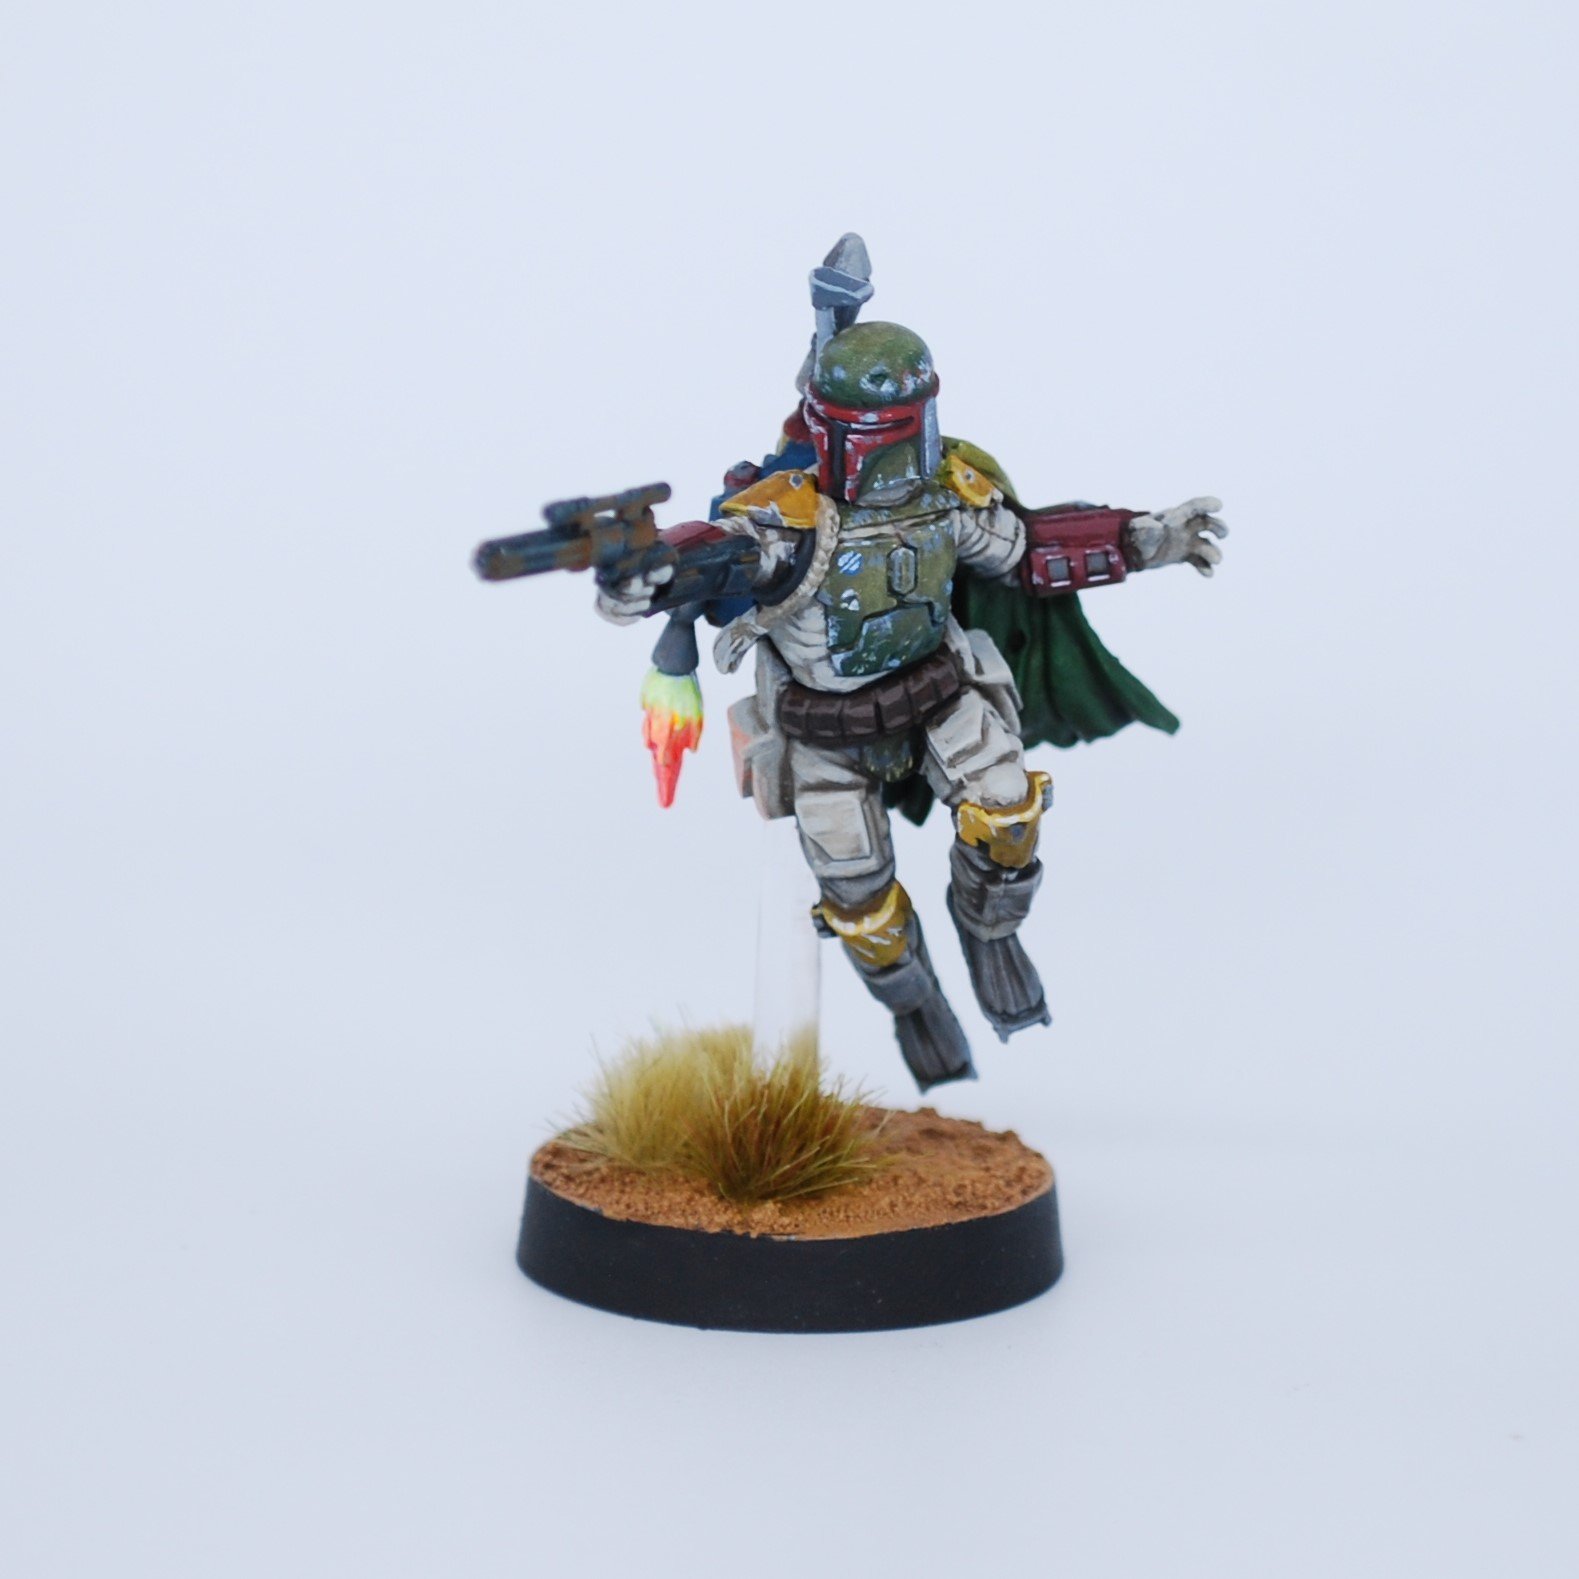
Written by: Tim McKnight (@TheDrStrange). (The models pictured above are some of Tim’s work!)
Welcome!
After much consideration, and looking at the plethora of offerings, you’ve just purchased your first Star Wars Legion models. You’ve taken your first step into a larger world. But, what’s your next step? What tools will you need to build and paint those models? There are quite a few options out there for hobby supplies, and this guide will cover the basics you need to get started.
Building Your Models
First things first. Before you can paint your models or put them on the table to face off against an opponent, you’ll need to build them. Depending on the models you picked up, you’ll be working with soft plastic or hard plastic. In some cases, you may be working with both.
The soft plastic models typically come in little baggies. Generally, these are from the earlier releases for the game. We’re talking Stormtroopers and Rebel Troopers all the way up to Phase 1 Clone Troopers. Hard plastic models come on frames (aka sprues) and are much more recent than the soft plastic models. Here, we’re looking at Battle Droids or Yoda.
Clippers
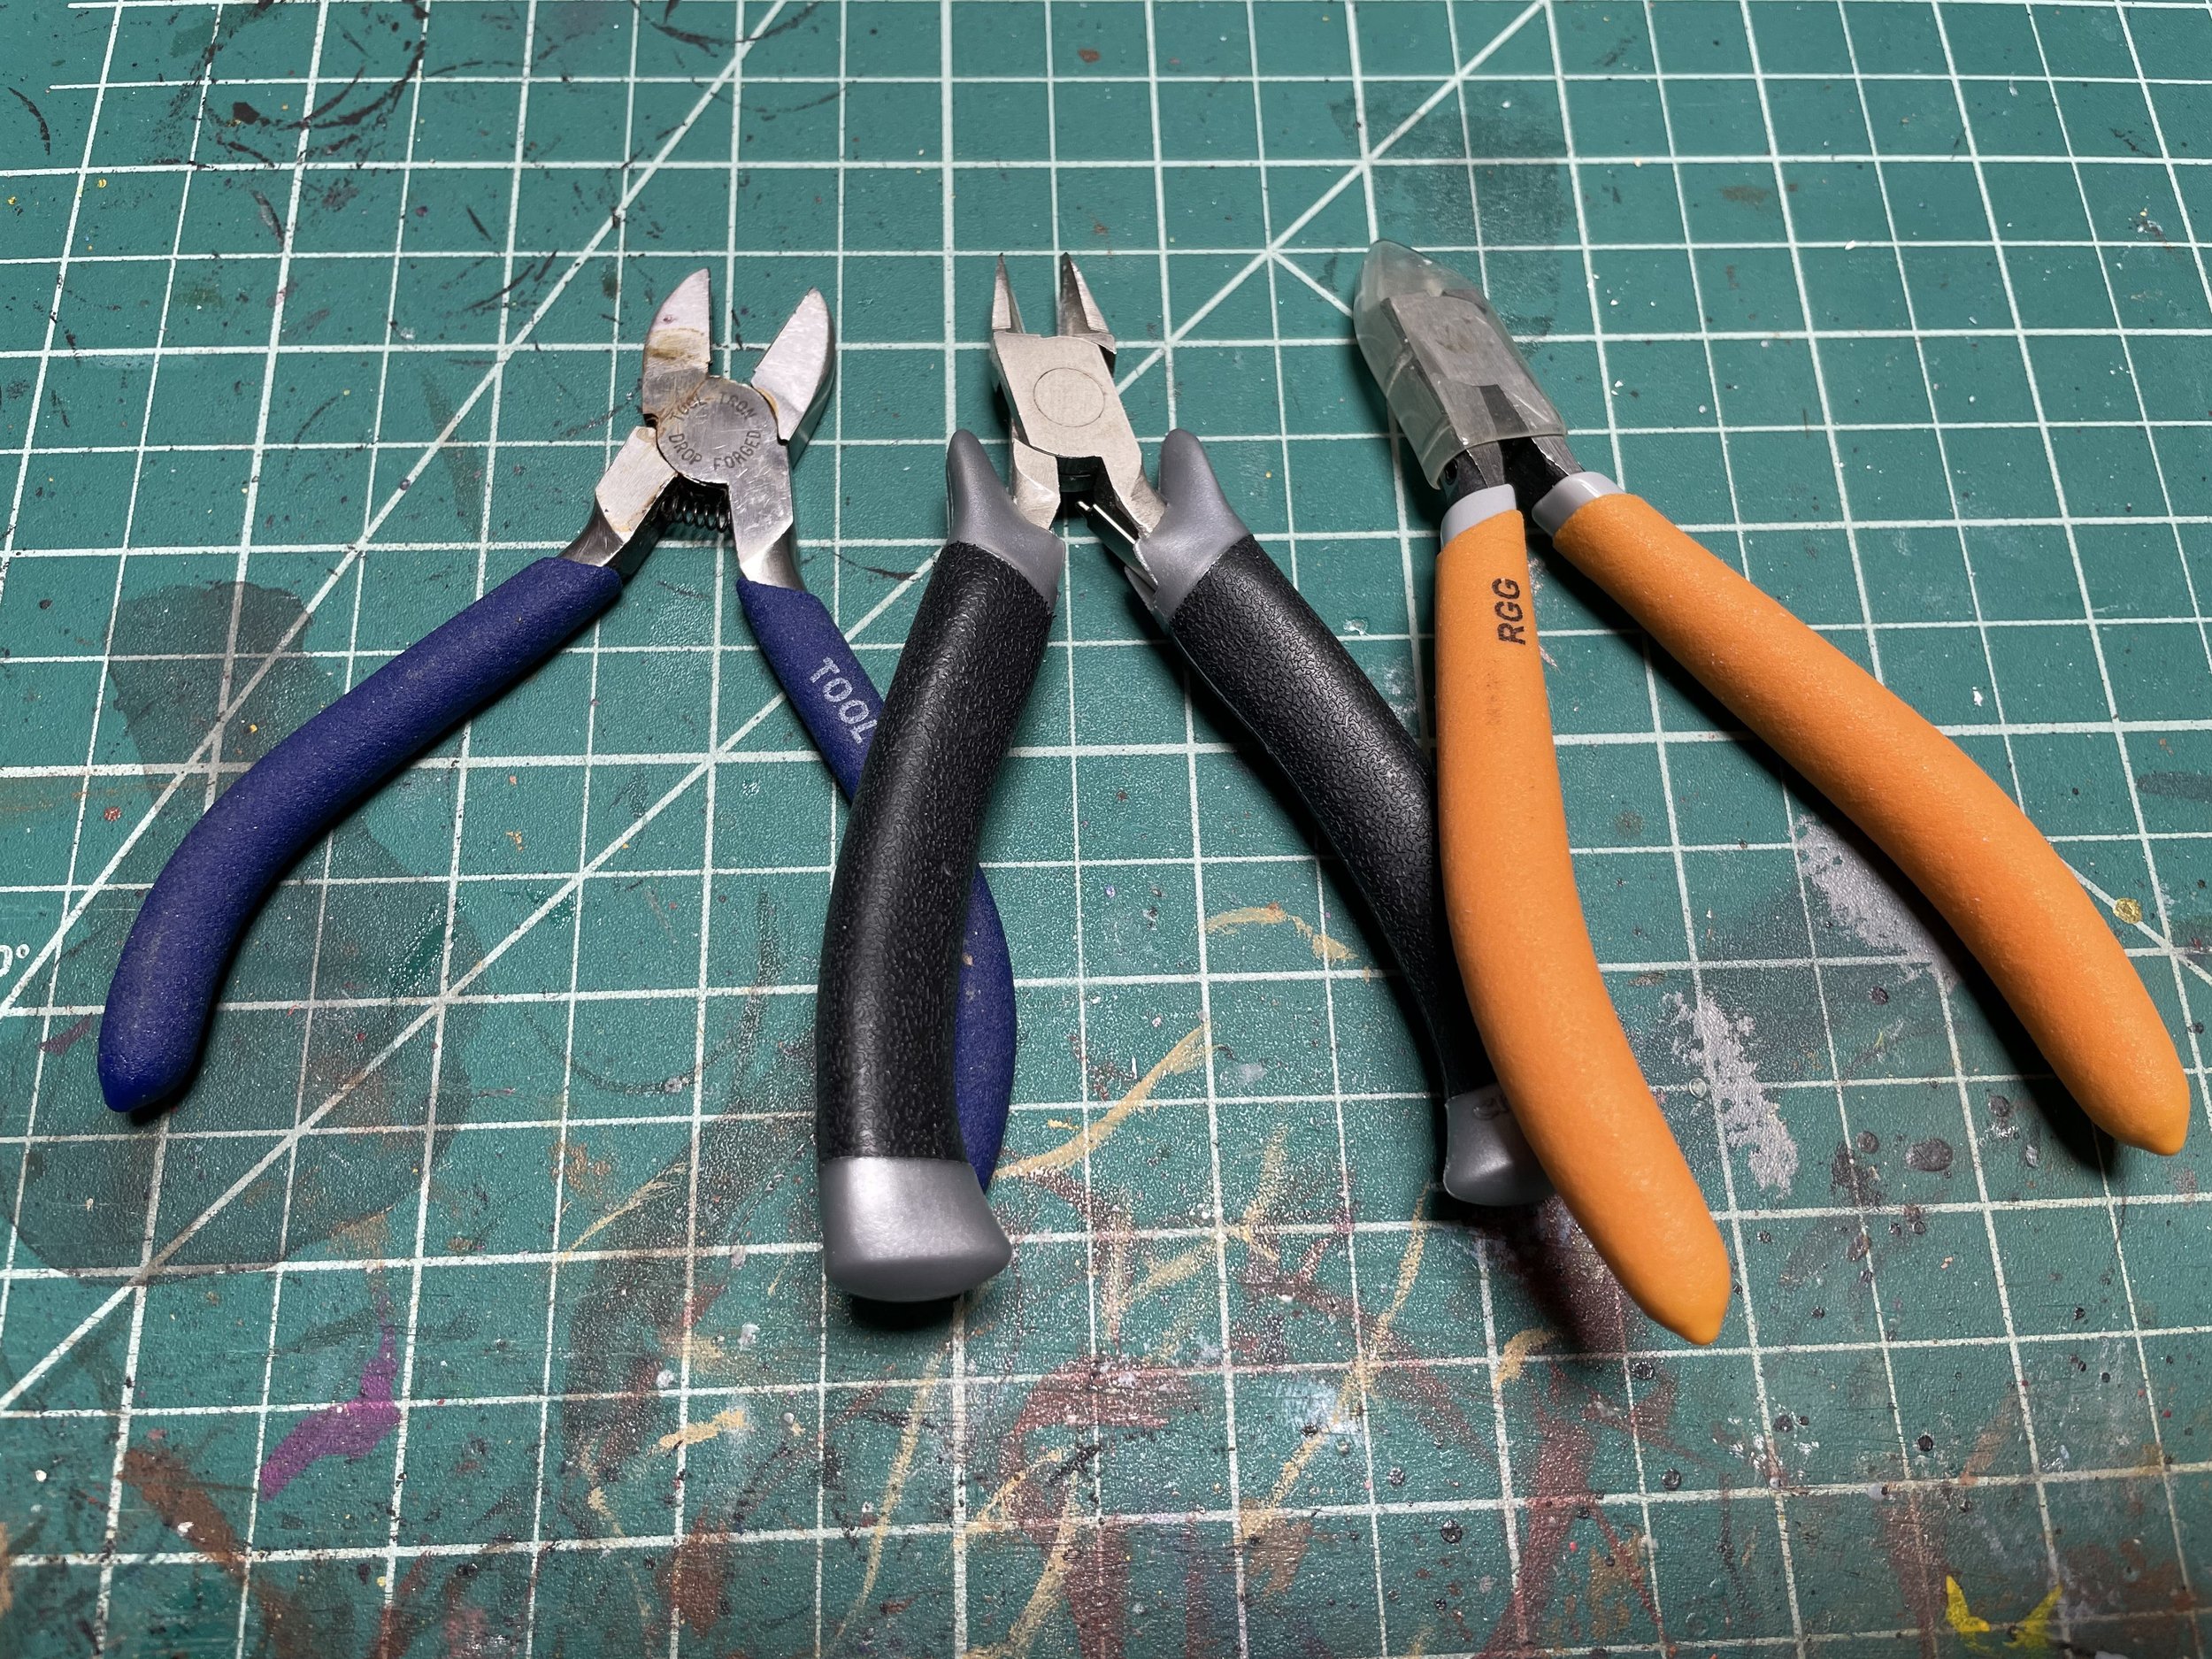
If you have hard plastic models, you’ll need to remove the parts from the frame. You can twist them around and pop them off, but that often leaves the plastic scarred with gouges. It’s much better to pick up a pair of clippers. Many companies make them, and you can even find a cheap set at your local hardware store. They’re easy to use: Simply put the flat side up against the model and cut! If you have only soft plastic models, you won’t need to clip anything. So, feel free to skip this purchase. Note that while the older releases for legion are all made of soft plastic, almost every new release is made of hard plastic
Hobby Knife
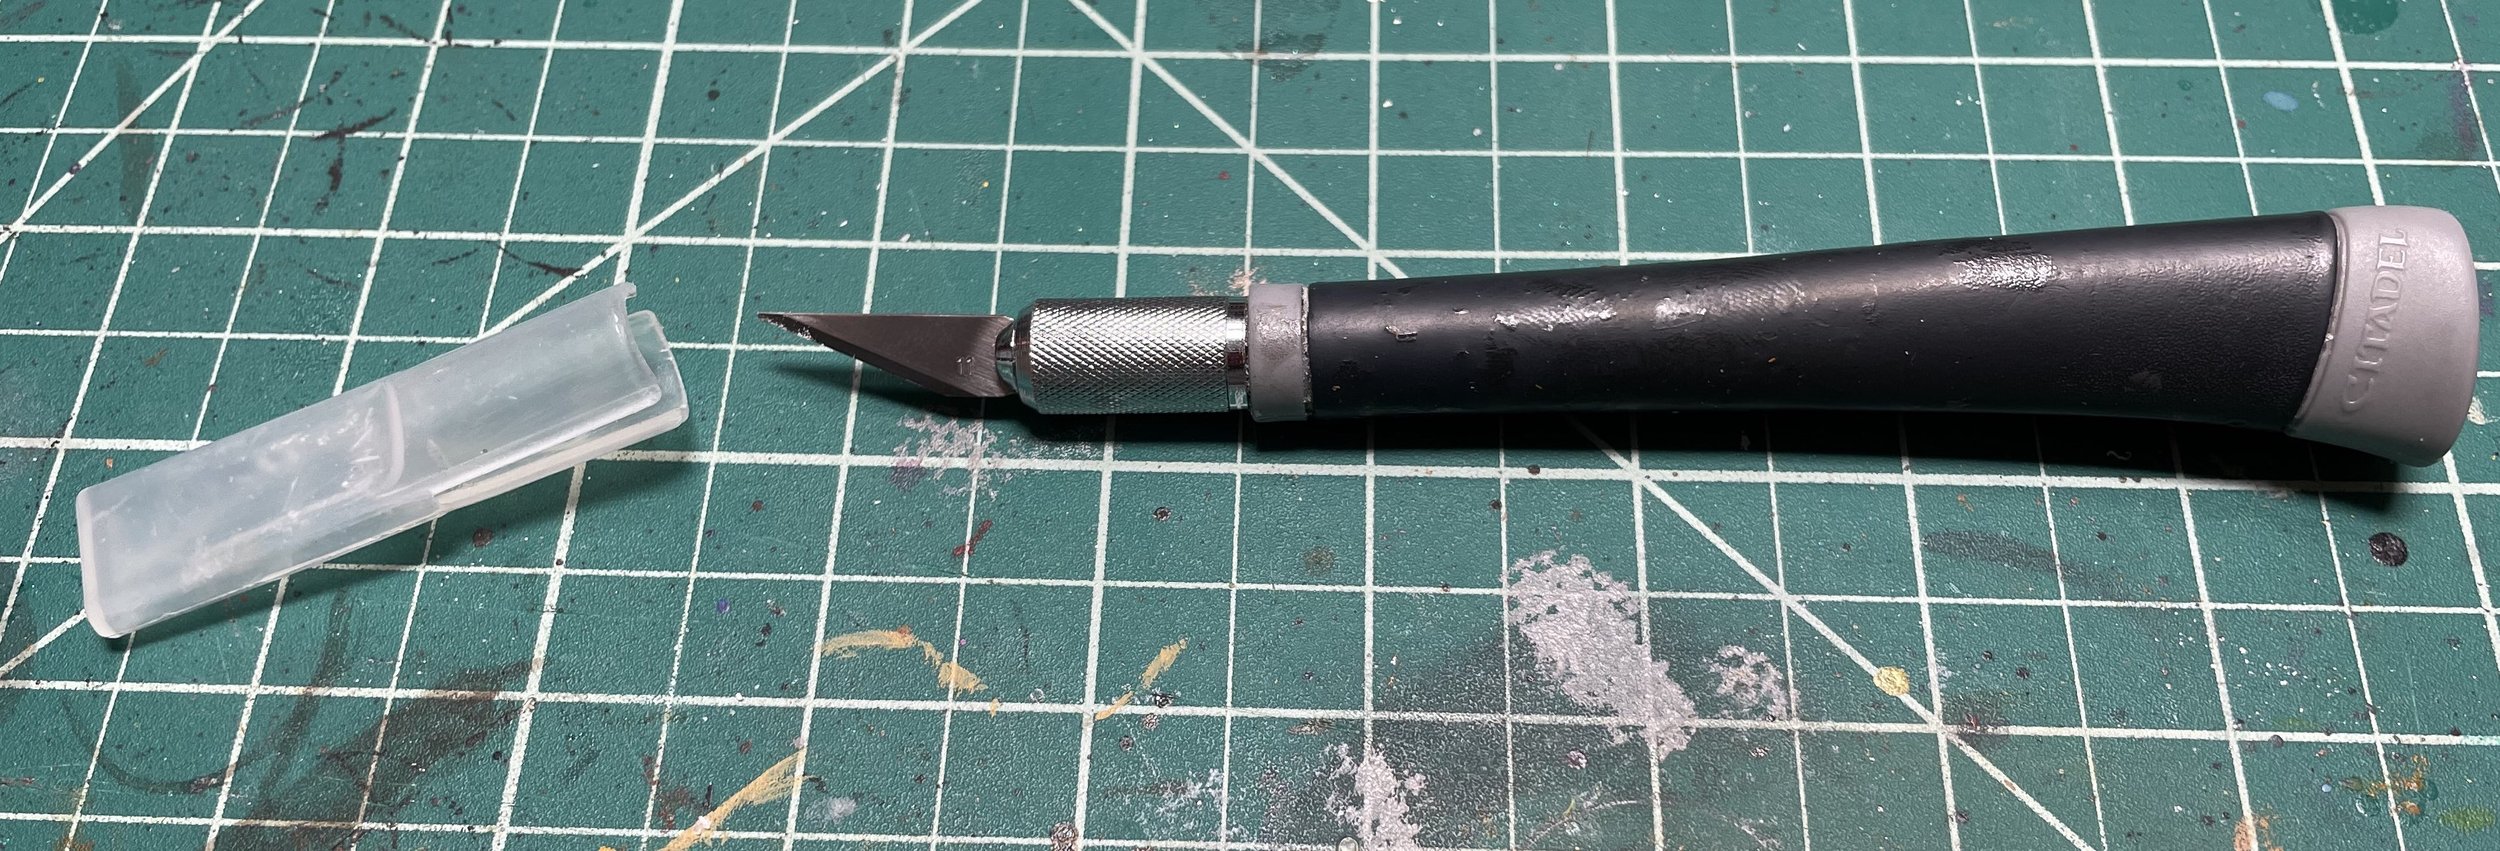
Okay, now you have a pile of parts to put together. What’s next? Build them? No! These are beautifully detailed models of beloved Star Wars characters and vehicles. Let’s make sure they look their best on the tabletop. Pick up one part from a model and really analyze it. You’re going to see what’s called a mold line somewhere on the piece. You might even see two or three depending on the kit. If you don’t remove that mold line now, it’s really going to show up when you start to paint. And honestly, it’s easy to remove.
For this job, you’ll need a hobby knife (aka x-acto blade). Fortunately, there are a lot of options here, and they’re very affordable. To remove the mold lines, gently scrape the edge of the knife along the line until it’s gone, and you’re left with a smooth surface. You may need to make a few passes to remove the line completely, and this can be tedious. Trust me. You’ll regret it later if you don’t. If you’re on a tight budget, a hobby knife can also be a replacement for clippers. But you’ll want to be careful cutting models off the frame so that you don’t hurt yourself.
You may see fancy mold line removers out there. Games Workshop, Monument Hobbies, and others make them. You don’t need ‘em. The hobby knife comes to a very sharp point allowing you to really get into tight spaces and remove mold lines. Most of these specialty tools are too big to fit into those tight spaces on our little models.
Glue
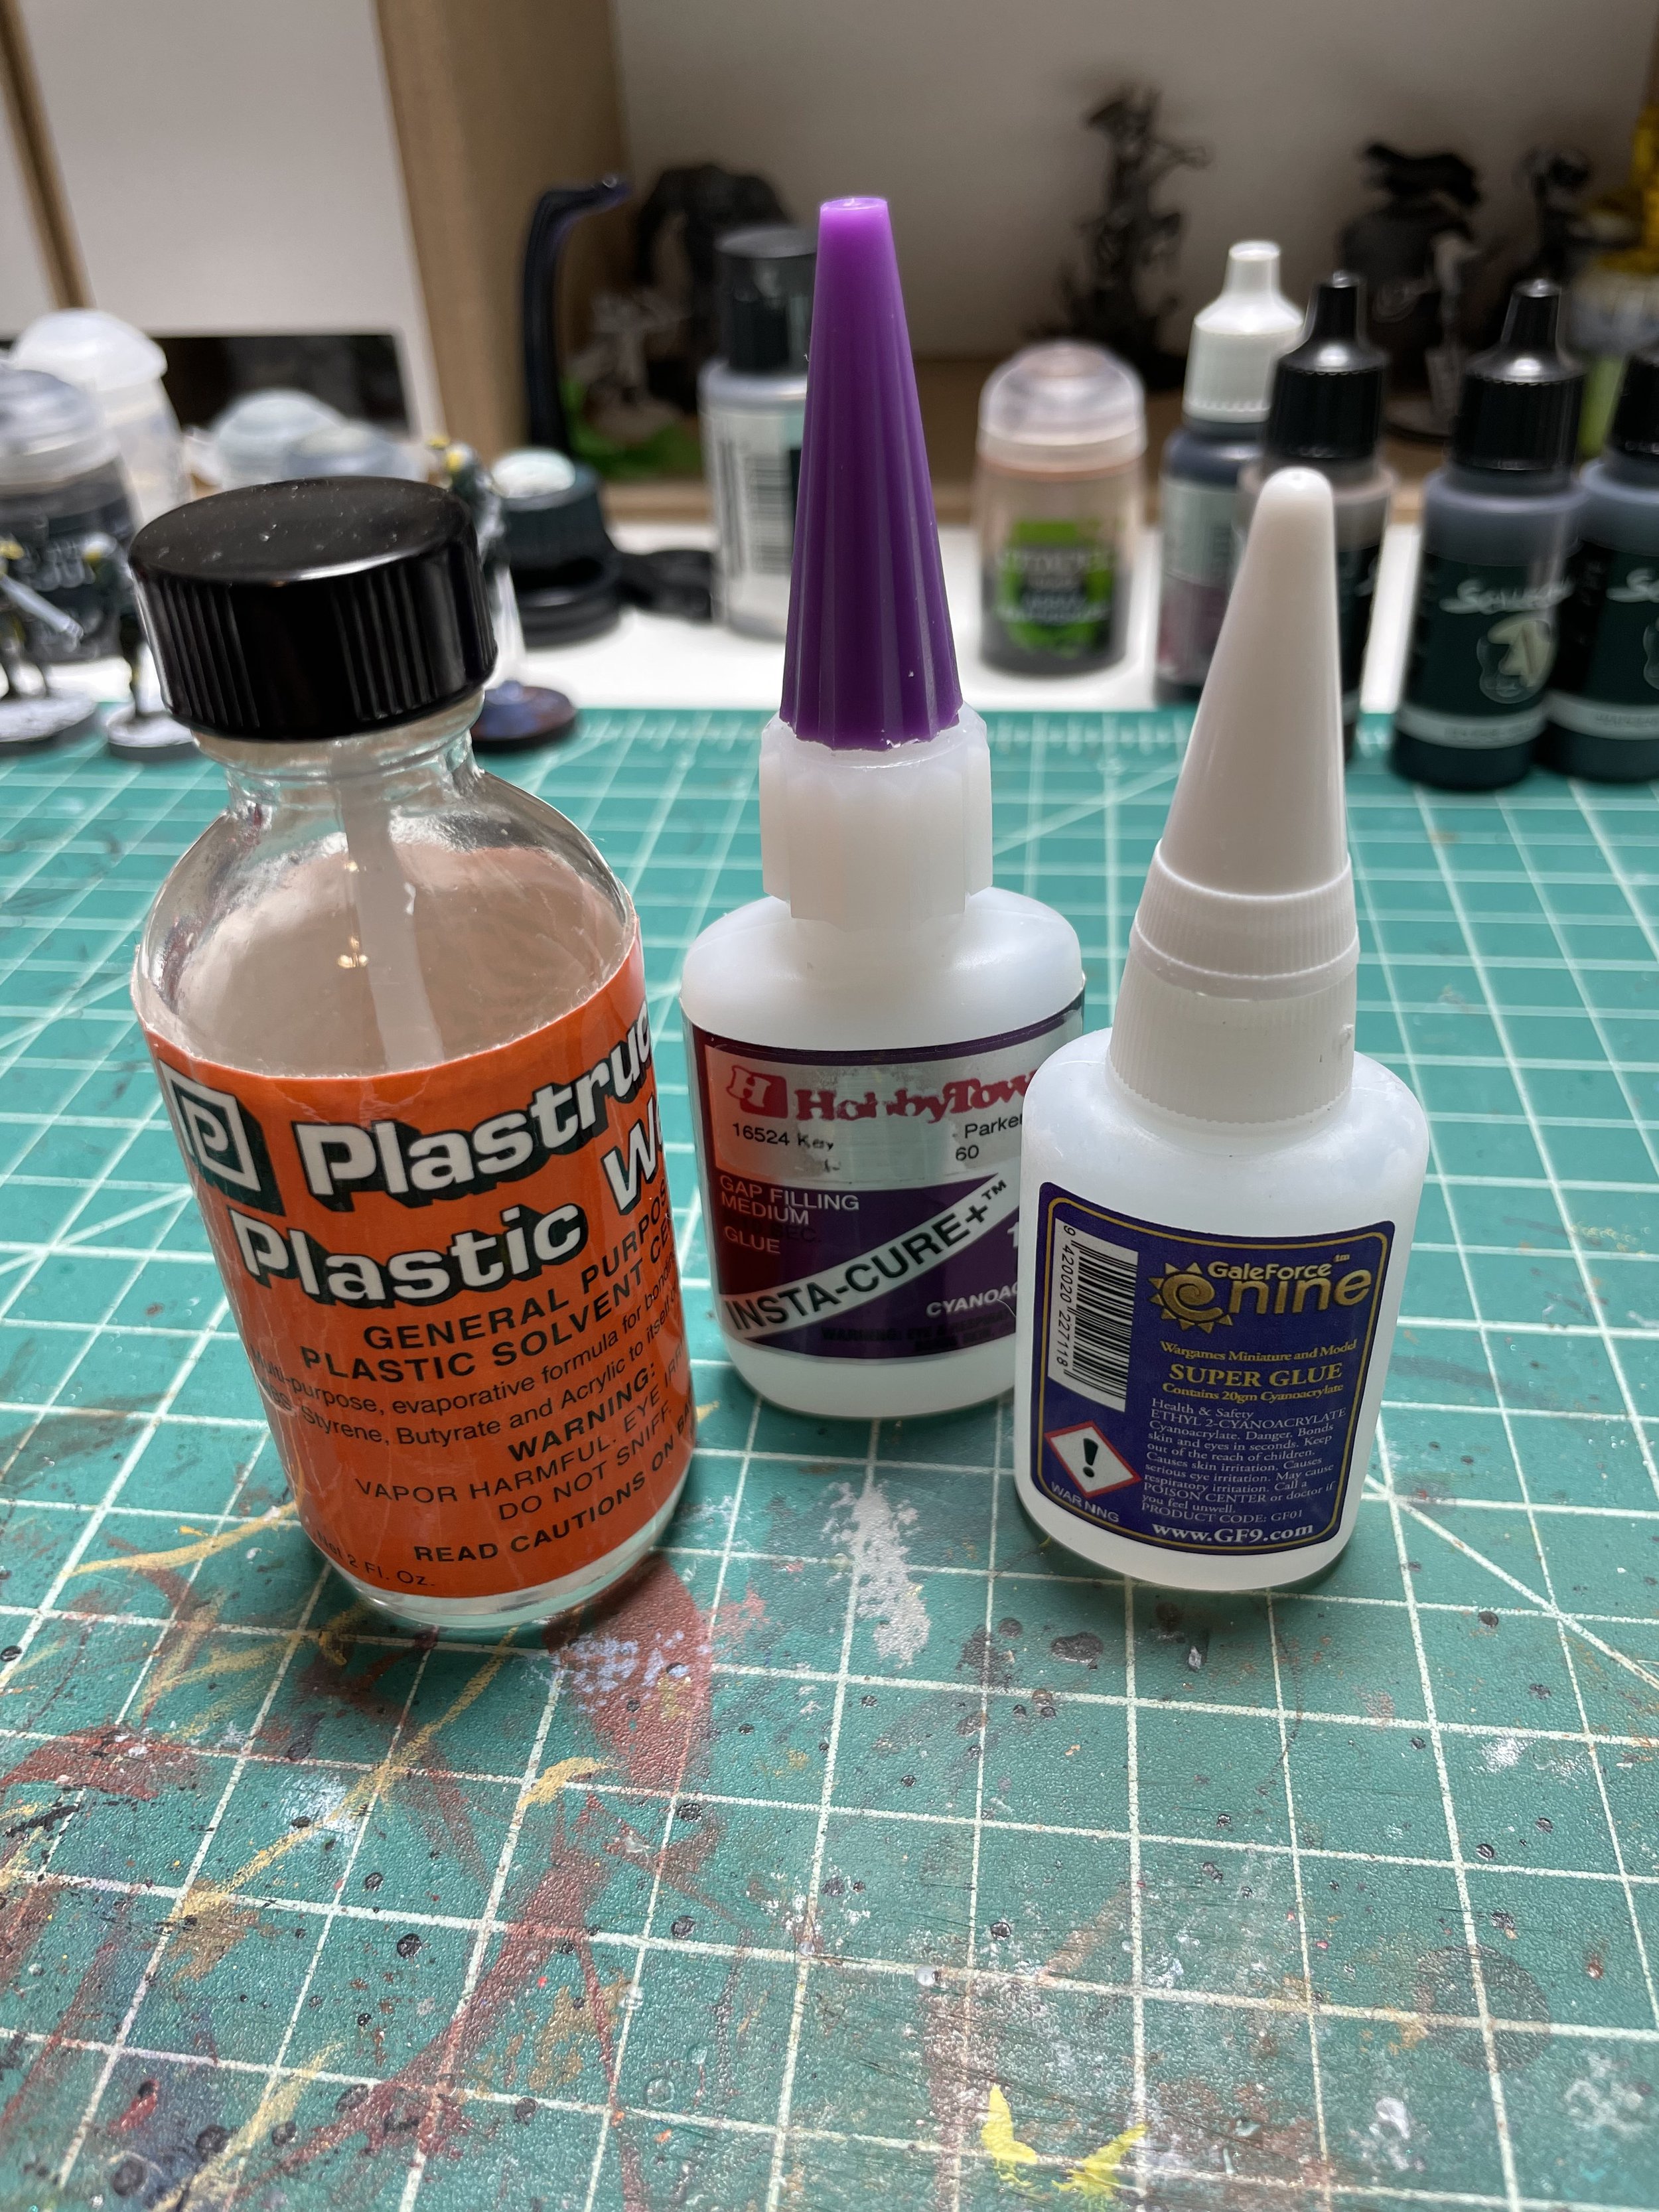
Now can we build our models? Yes! But, let’s talk about plastic again. In the miniatures hobby you generally have two types of glue you can use to build your models. The first type is cyanoacrylate (aka super glue). This stuff is pretty great. It dries quickly and holds very well. You can pretty much use it on all your models and be just fine. Your second option is specifically for the models that came on a frame, and it goes by plastic glue or plastic cement. What’s different about plastic cement is that it essentially melts the plastic from each piece. As it all dries, you’re left with a very strong connection because you’ve melded the pieces together. However, this only works with polystyrene which is the plastic from the frames. The soft plastic won’t work with this glue.
You can certainly get away with just buying super glue since it works for everything, but I will caution one specific thing for this game: If you bought B1 Battle Droids as part of your Separatist army, I highly recommend getting a bottle of plastic cement. (And better yet, get one with a brush applicator!). Otherwise, you’re going to have a heck of a time putting those B1s together without constantly gluing your fingers to them. Since we’re not made of plastic, plastic glue doesn’t really stick to us in the same way that super glue can. (After all, super glue was first created to treat battlefield wounds!).
Painting Your Models
There are two steps here: Priming and Painting. You’ll find some models out there in other miniatures ranges that can be painted straight out of the box. Legion is not one of those lines, so priming is an essential step that you shouldn’t skip.
Primer
Why do we need to use primer? Basically, paint won’t stick very well to bare plastic. It will, however, stick quite well to primer. Primer is effectively a special paint that’s formulated to stick to the plastic and provides a much better surface for your paints. There are many companies that make primer. Citadel/GW, Army Painter, Vallejo, or even companies like Krylon that are sold at the hardware store. You’ll get a lot of different recommendations, but it’s safe to assume that any primers you can find at your local game store will be just fine. Any color primer will work fine, but, if your model is largely one color (e.g. black, white, metallic, etc) often you can find a primer in the color you want that will knock out a bunch of the paint job for you.
There are some priming pitfalls to be aware of:
Not Shaking Your Primer. Primer cans often have been sitting on a shelf for months or years, and the propellant and paint don’t stay mixed well. Before using a spray can of primer, make sure to vigorously shake it for at least 2 minutes (which seems like an eternity while shaking a can!). This will ensure the propellant and paint properly mix so you get a good spray. If you don’t shake your can enough, you can find yourself spraying mostly propellent (giving poor coverage), and can have an inconsistent stream of paint. If you’re spraying multiple models, make sure to shake your can more during your spray session to keep that paint mixed!
Spray distance. If you get too close to your model while spraying, and you’ll get too much primer on it which can obscure the details. If you spray from too far from your model, and the primer will partially dry on the way to the model giving it a grainy texture. A good rule of thumb is to spray from about 8-10 inches away in short bursts.
Coverage. New painters may find that after picking up their primed models to paint and giving them a closer inspection, that they didn’t cover the entire model with primer. Its easy to see if you’ve covered the front and top of the model with primer, but often parts of the bottom of the model (especially parts obscured by arms, capes, or weapons), can be missed. To avoid this, make sure to spray at the model from multiple angles, including above and below the model. My favorite method is to attach my models to something I can hold, like a gallon paint stir stick, with poster tack or double-sided sticky tape, and head outside to spray. That way, I can get all the angles as I twist the model/s around (and I don’t have to smell the primer inside my house!)
Safety. Rattle can primers contain hydrocarbon propellants that are flammable and toxic to inhale. To prime safely, you need to work in a space that has good ventilation and airflow to make sure the fumes don’t accumulate. The best place to use spray primer is outside. Other options, such as ventilated garages and spray hoods work as well, but for a beginner, spray priming outside is typically the most available option.
Paint
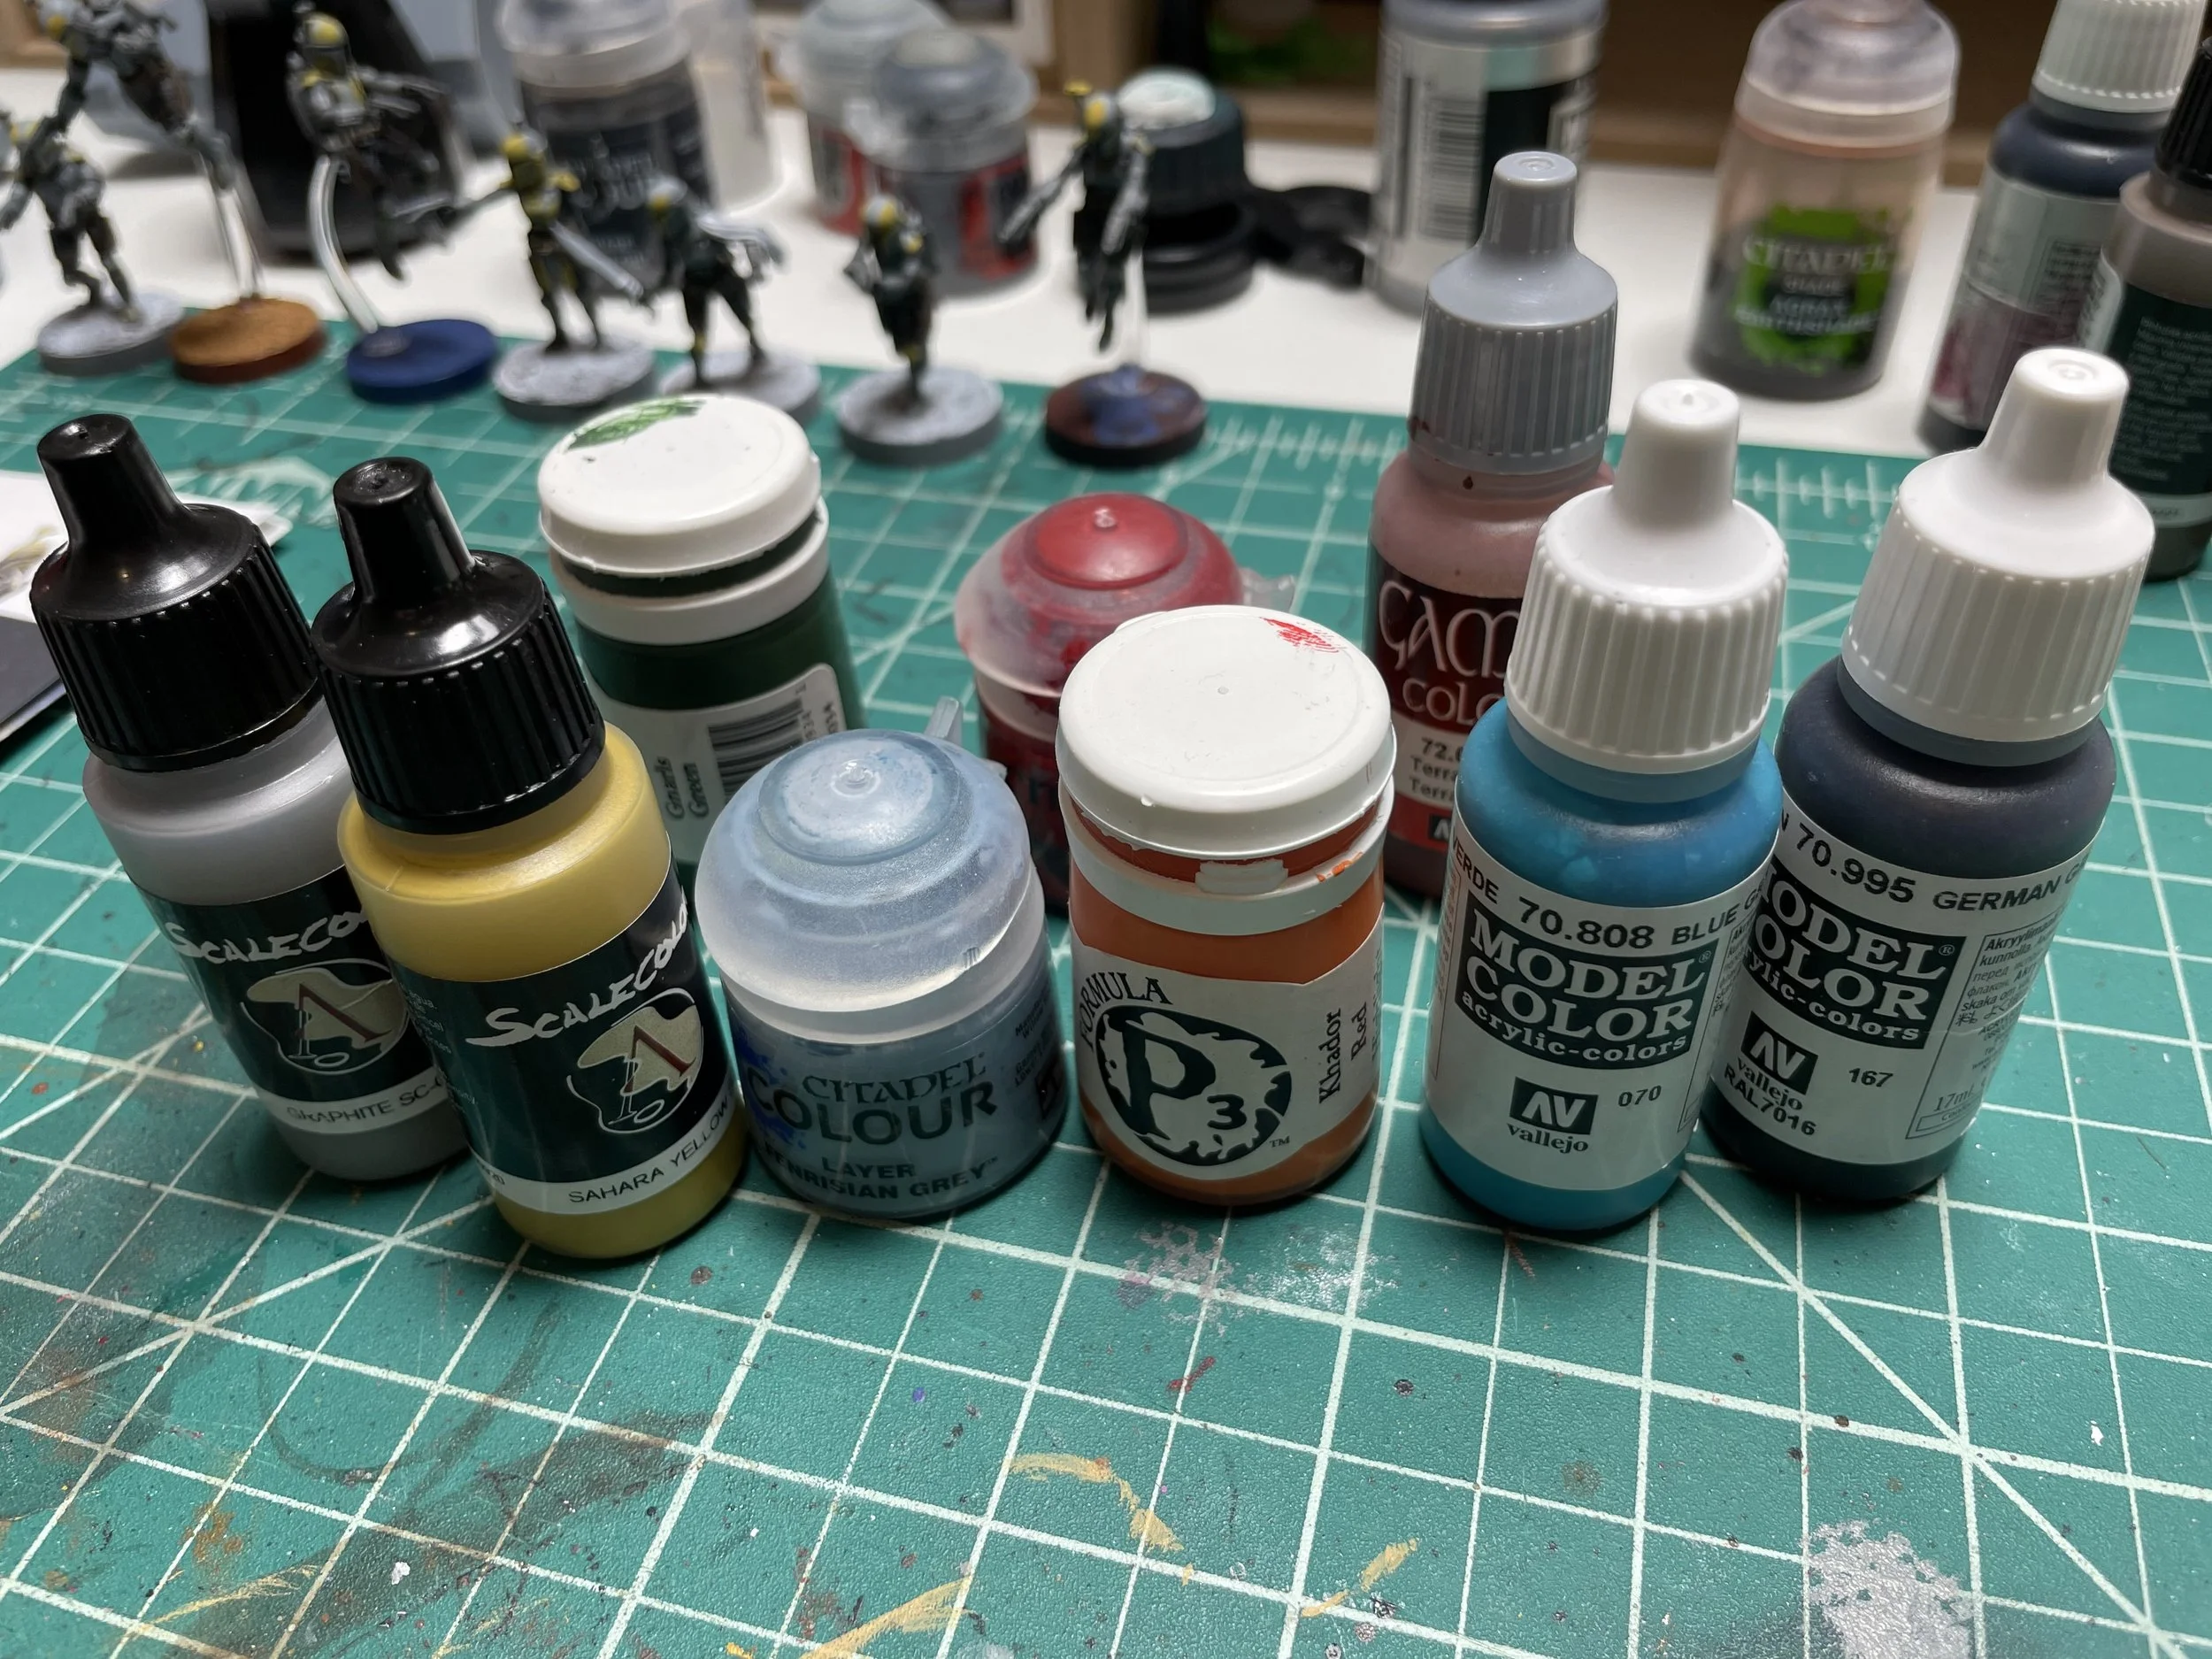
You’ve got a built and primed model, and you’re ready to paint! What paints do you buy? There are a lot of paint lines out there. To name a handful, you’ve got Citadel/Games Workshop, Vallejo, Army Painter, Scale Color and many more. Every paint line has differences. You’ll find some paint lines have different finishes with some being more matte and others being more satin. There are certainly different colors across the various paint lines. Most paint lines have dropper bottles whereas Citadel/GW uses pots. All of this is to say that you have a lot of choices, and as a new hobbyist, you’re not equipped to understand the differences and know what will work best for you.
So, rather than worry about which paint line is best, just pick something locally available to you. Does your local shop carry Vallejo? Go for it! Your nearest store is a Warhammer store that stocks only Citadel/GW paints? Great, they’ll work just fine. The most important thing is that you get acrylic paint made for miniatures. While they’re more expensive than Apple Barrel brand paints from the craft store, in my opinion, they’re worth it. The colors are more vibrant, and the paint is much closer to the consistency you want for painting miniatures. Over time, as you progress on your hobby journey, you’ll learn which paint lines work best for you. Odds are pretty good that it’ll be a mixture of different paints from different lines. Another piece of advice is to not feel like you have to buy every color of paint all at once. A white paint and a black paint are good staples you want to have, but other than that, it’s okay to buy just what you need for the model you’re working on, and then build up your collection over time as you paint more models. ,
Brushes
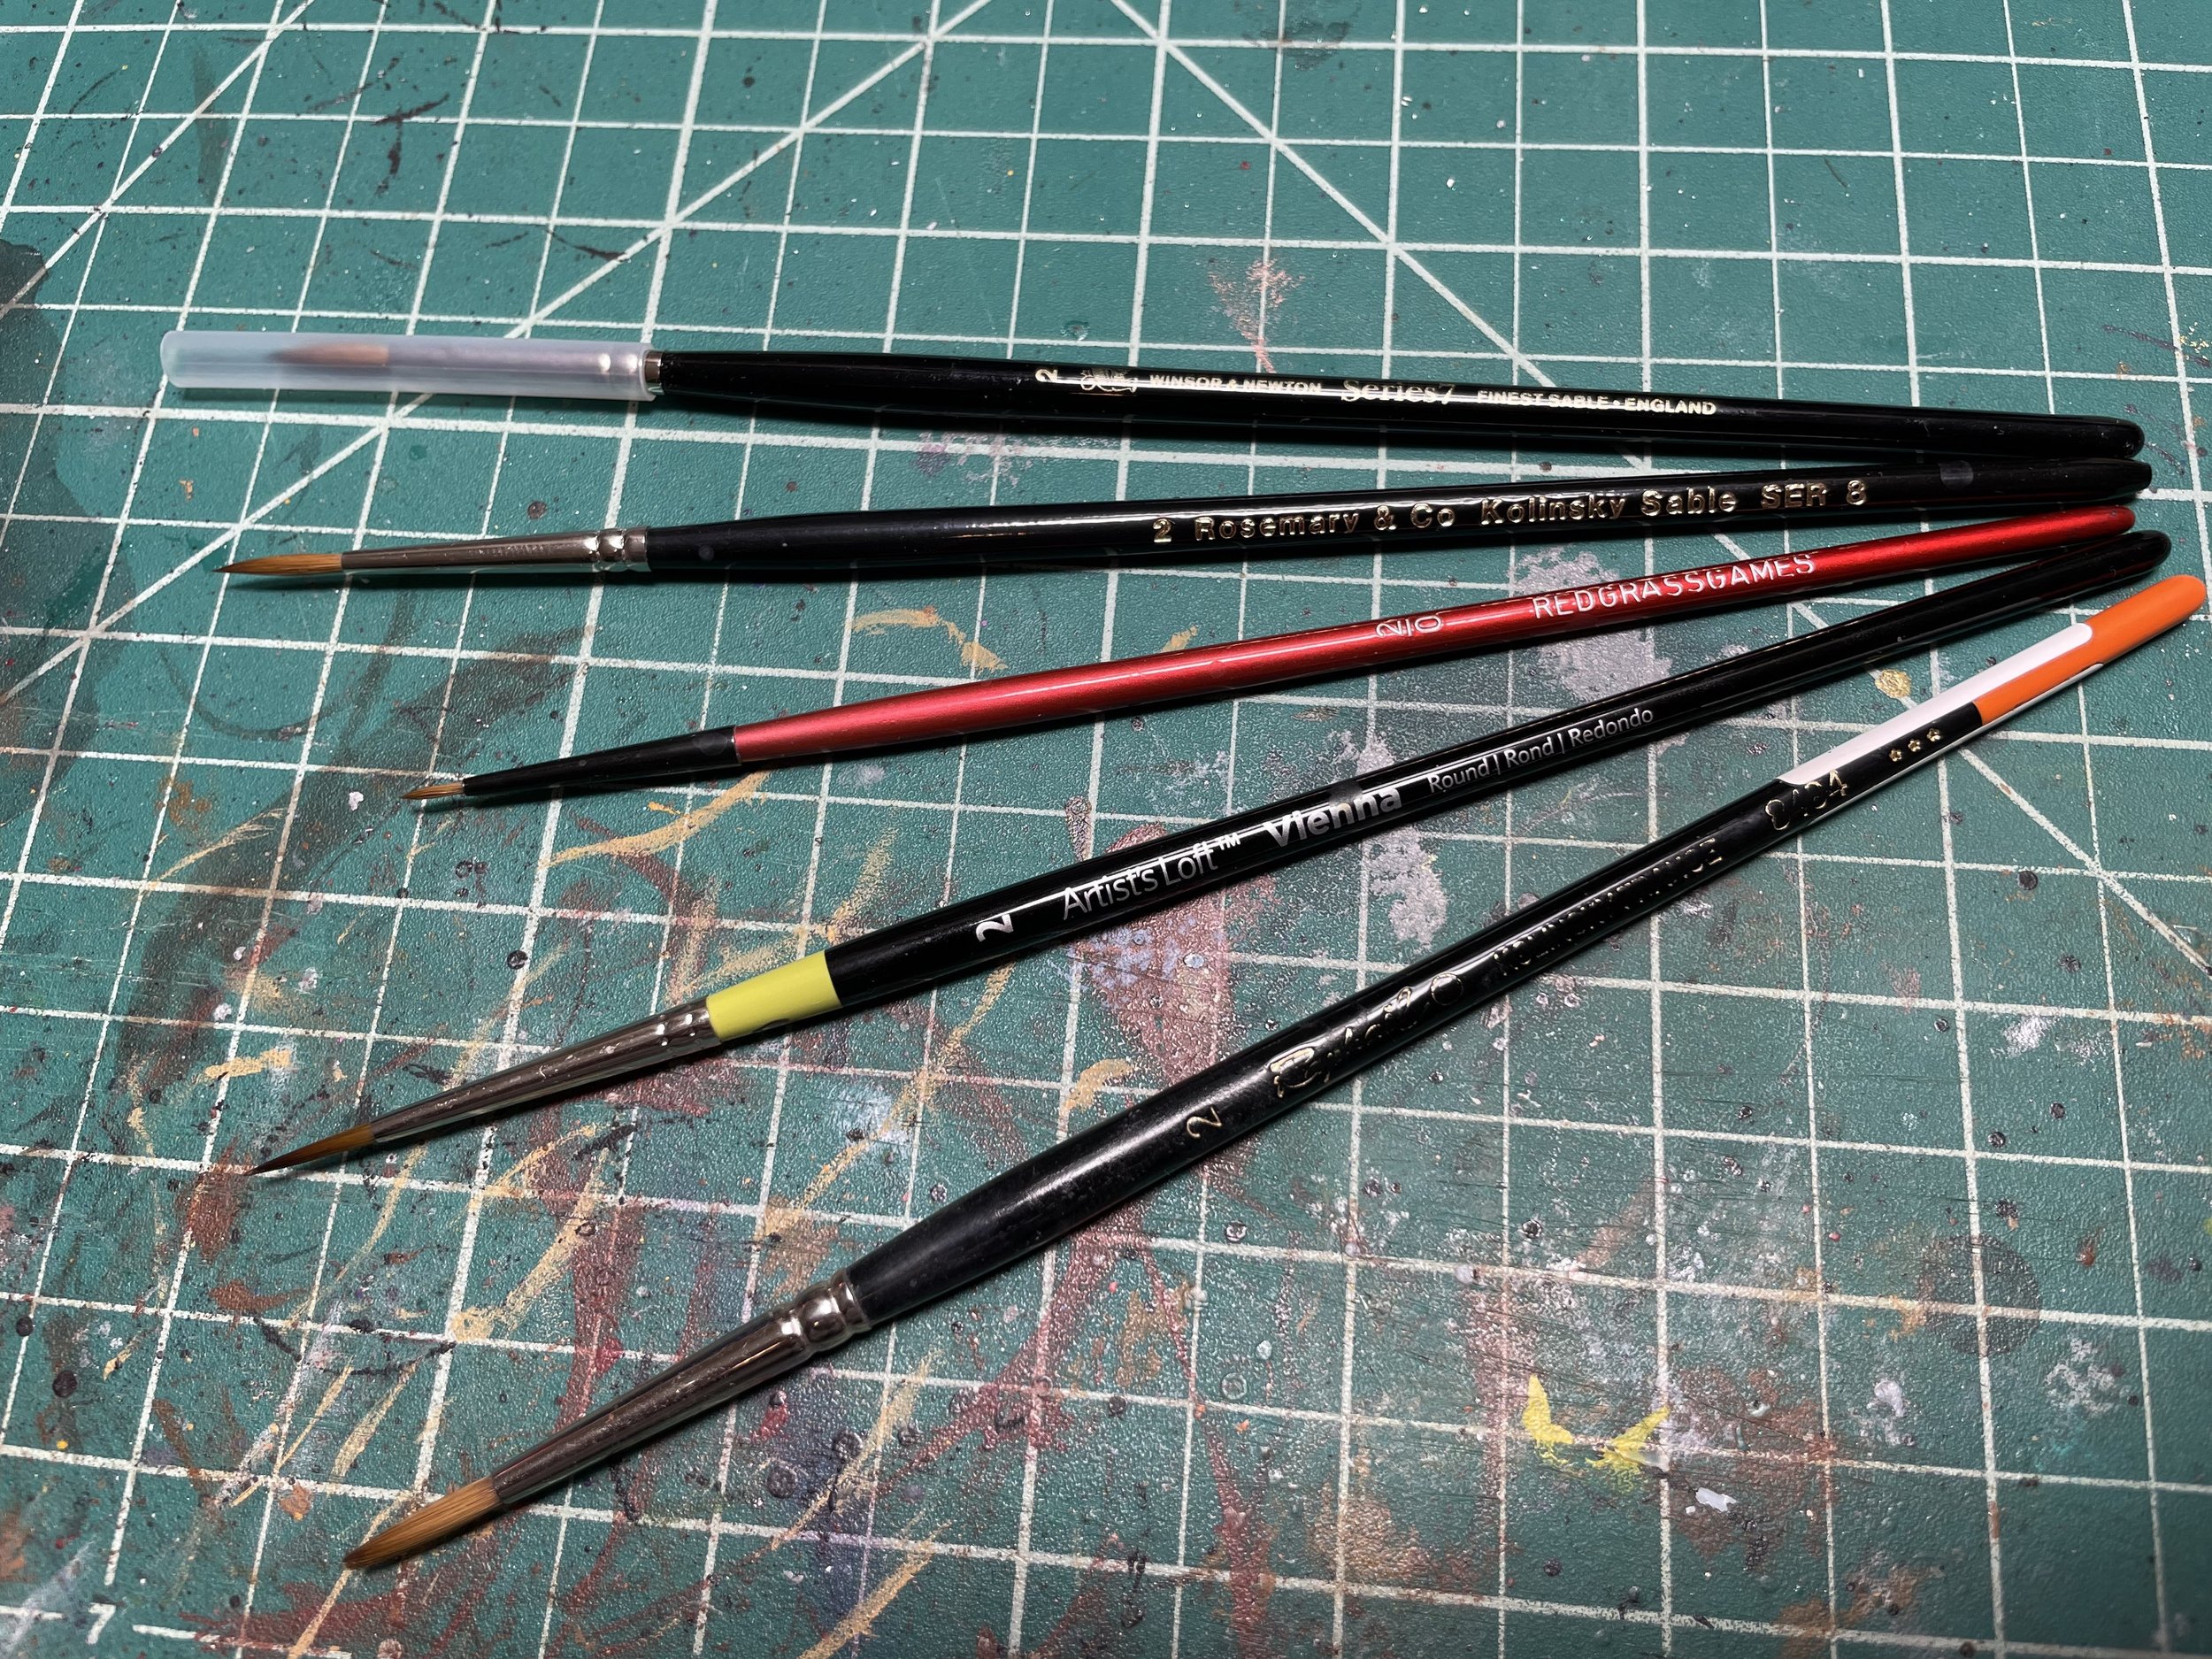
We’ll wrap this up with brushes. Much like paint, you’re going to find a wide variety of brushes out there. For your primary brush, there are really two categories: synthetic and natural hair. There are pros and cons to each type. Synthetics are cheaper, but they also wear out more quickly. Natural hair brushes, we’re mostly talking about sable, are more expensive, but can last a very long time. My personal preference is to use natural hair brushes most of the time. I get some use out of synthetic brushes for things like dry brushing or painting terrain. But, when it comes to miniatures, I much prefer a good sable brush.
When you’re just starting out, get what you’re comfortable with. A quality natural hair brush is going to run you anywhere from $12-$25. With synthetic brushes, you can get them as cheap as $1 a brush. Consider your options, look at what your local shop has to offer, and pick something to start out with. Remember that brushes are consumable tools in this hobby. This is not the last brush you’ll buy. I often see people get consumed by the need to preserve their brushes for as long as possible. In the grand scheme of things, spending a few more bucks on another brush means you’re getting a lot of painting done. That’s great!
Another tip is to get a larger brush than you think you’ll need. I’ve found that I can do the vast majority of my minis painting with a size 2 round brush. As long as it comes to a nice point, you’ll be able to do the base coating and much of the detail work with that single brush. If you want to get a second brush for very fine detail, grab a size 0 and you should be good to go. If you practice using a larger brush, you’ll develop better brush handling skills and will learn to use the brush to help you paint faster and more efficiently, versus trying to use a tiny brush more like a ball point pen.
Lastly, you’ll want a palette to put your paint on. You should be able to find some cheap plastic or aluminum palettes at your local craft store. Ultimately, a palette is just a surface for you to put your paint on and mix them with water or colors to achieve the desired consistency and hue that you want. Anything can work including a piece of tile, a plate, plastic dishes, etc. If you have a few extra bucks in the budget for your palette, I highly recommend a wet palette. These integrate a sponge in a tray of water, and keep your paints wet longer than they would be on a normal palette. Wet palettes are particularly useful in a dry climate like Colorado where paint can quickly dry out, and they make some advanced painting techniques such as wet blending a little easier.
Conclusion
There are many other tools out there to speed things up and perform different techniques, but this is the list most people should start with. It’s worth it to start simple and dip your toes in to see how you like the hobby. If you get hooked and decide you want to take it to the next level, then you can consider investing in things like more paint types, more expensive brushes, an airbrush, or a vortex mixer. If you have any questions about any of this, feel free to ask the community. Hobbyists are some of the most helpful people out there who love to share tips and their experience. Don’t hesitate to reach out, and don’t feel embarrassed about being new, we were all beginners at some point!
Beginner Tool Kit
· Hobby Knife
· Clippers
· Super Glue
· Plastic Glue/Cement (Optional, depending on if you have soft plastic models or models on a frame/sprue).
· Primer
· Paint
· Brush
· Palette
Written by: Tim McKnight (@TheDrStrange)
Edited by: Stephen Cobb (@ASpaceViking)